Using the right screws in your timber projects

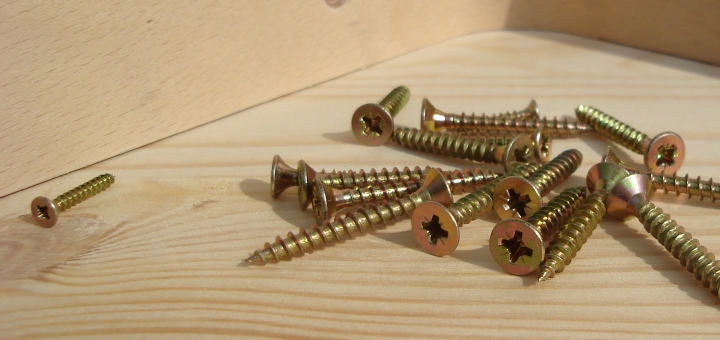
If you want to connect two pieces of wood together, it’s usually a good idea to use a wood screw.
You need a screw that is somewhere around two or three times as long as the piece you are securing is thick. However, if the piece you are securing the top piece to is not thick enough to take the entire length of screw, you might consider using a smaller screw – but you need to think about whether this will provide enough grip to hold the fixed piece in place (or whether you should reconsider your task).
Fixing and mounting
Start by securing the fixing and mounting materials firmly together. If the pieces are small, then you might be able to secure them with a workbench or vice, but with larger pieces, or in situations where the mounting surface is secured, you can try using clamps or (as a last resort) holding it in place by hand. It is usually better to secure things properly, but when this is not possible, consider drilling your pilot holes separately and securing the surfaces afterwards.
Pilot-drilling guide holes
With hardwood you will usually need to pilot-drill guide holes to help your screws penetrate the timber. Start by marking the intended screw position directly on the wood surface using a pencil, then attach a drill bit with a slightly smaller diameter than the screw and drill through both sections of wood (together if properly secured). The depth you need to drill to will be roughly equal to the screw length, so use a depth gauge to make sure you don’t drill too far.
If you need to achieve a higher quality finish in a particularly hard wood and your screws’ shanks are wider than their threads, you may need to use a wider drill bit to make a hole that can accommodate the shank. If you are using countersunk screws then you should use a countersink borer in order to create a recess suitable to house the underside of the screw head. Countersink borers can be separate tools, but many modern drill bits will have the capacity to complete this function during the initial pilot-drilling.
Driving in the screw
With the preparatory drill work completed, it should be a simple matter of driving in your screw. You will need the right type of driver attachment for your drill or a separate screwdriver to complete this task, and you need to make sure the driver blade fits the screw slot properly to avoid damaging the screw or material during installation. Typical damage might include head chewing or shearing, or impact damage to the surface material as your driver slips out of the slot.
When you choose the fixing and fasteners for your project, you need to know that they are suitable for the purpose not only during installation but for the lifespan of your finished project as well. Screws not only need to be strong and durable enough to keep the load they are holding secure, but they need to be suitably corrosion resistant for the environment they are in as well. Some fasteners and fixings may be vulnerable to the elements, so you need to be aware of this before you choose the steel fasteners for the job.
Photo credit: Patrycja Cieszkowska
This article was originally published at the Home Interiors Directory


